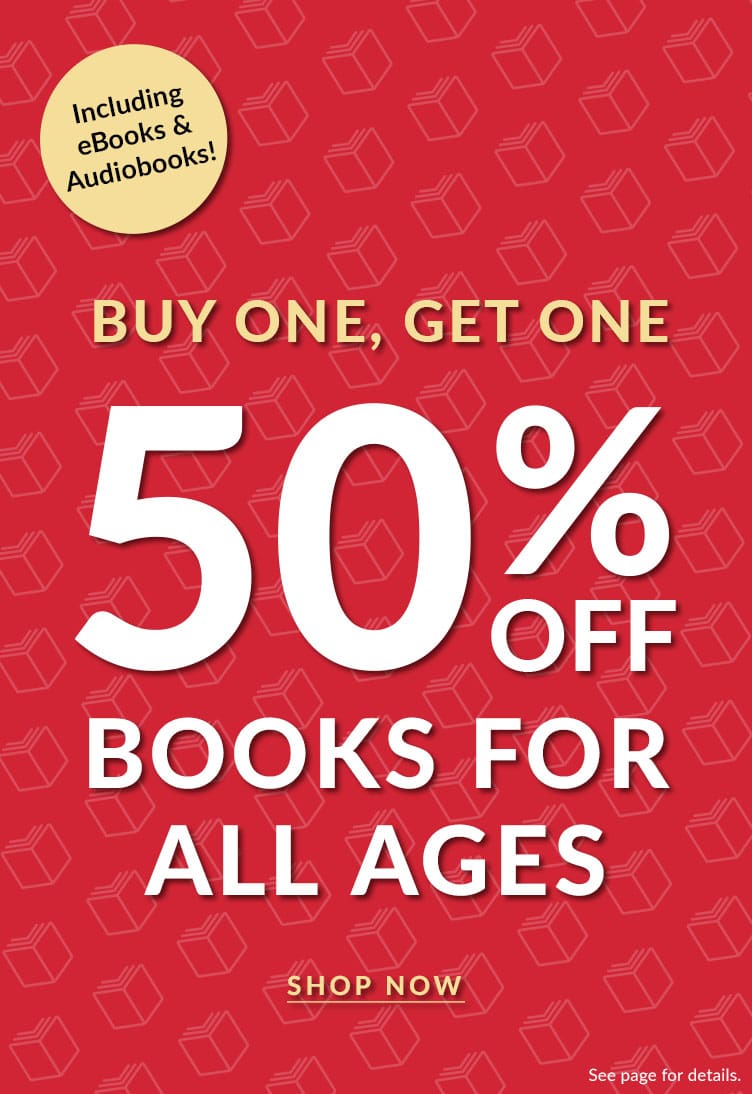
Buy Books Online at BN.com, America’s Favorite Bookstore
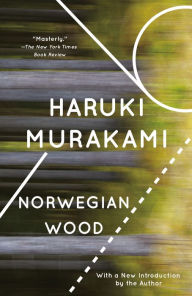
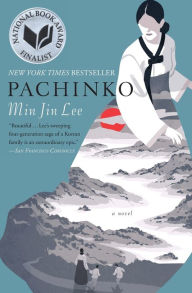
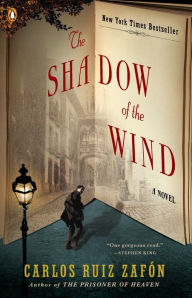
No matter what you’re a fan of, from Fiction to Biography, Sci-Fi, Mystery, YA, Manga, and more, Barnes & Noble has the perfect book for you. Shop bestselling books from the NY Times Bestsellers list, or get personalized recommendations to find something new and unique! Discover kids books for children of all ages including classics like Dr. Seuss to modern favorites like the Dog Man series.
Find a Barnes & Noble Bookstore Near Me
Barnes & Noble has over 600 stores throughout the United States. Find a bookstore near you using our store locator. You can also find information on curbside pickup, store events (and virtual events), store hours, Barnes & Noble Café menus and more.
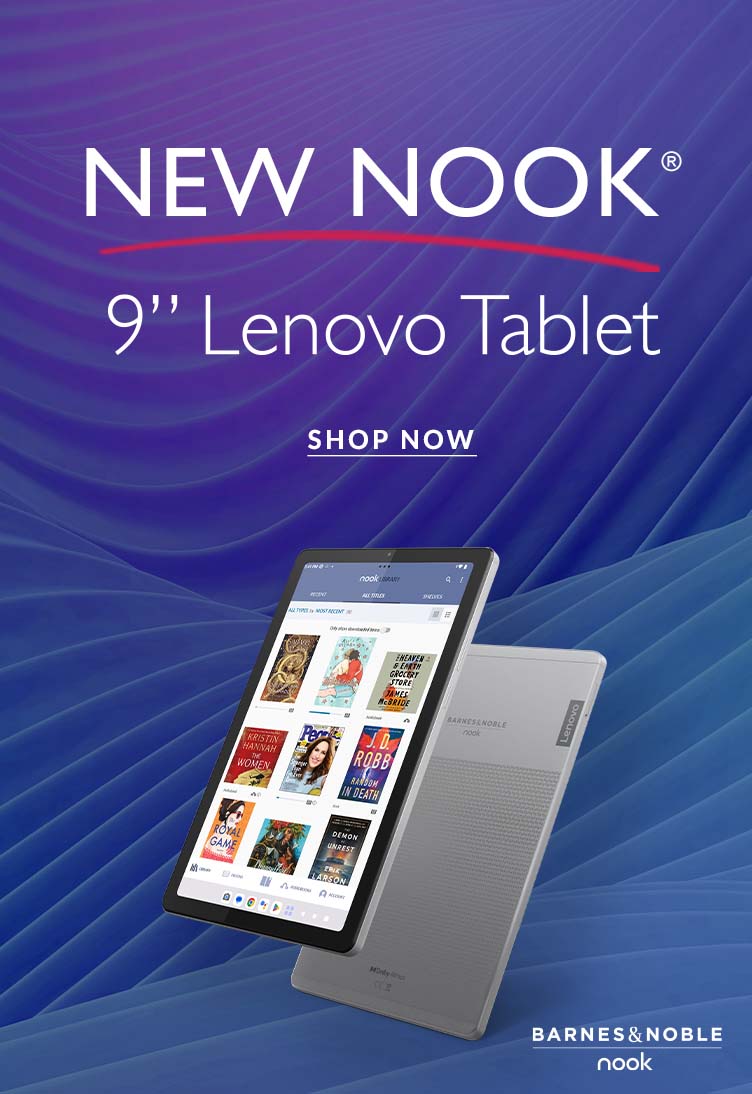
eBooks Delivered Straight to your NOOK Device or Mobile NOOK App.
Reading on the go has never been easier with our convenient NOOK eReaders and tablets. Download eBooks and read them on our free NOOK app for both Apple and Android devices. Browse millions of titles to read anywhere, anytime. Shop eBooks on a budget in our eBooks Under $2.99 collection or current best sellers in our Top 100 eBooks collection. We also have a large selection of books by indie authors. Buy the NOOK GlowLight 4 for seamless day-to-night reading, or the latest NOOK tablet for endless options at your fingertips.
Buy Audiobooks and Listen Anytime, Anywhere with our B&N NOOK App.
Listening to audiobooks has never been better with B&N Audiobooks. Subscribe today and get started with your free audiobook or purchase books anytime without a subscription. Browse over 300,000 new releases, bestsellers, classics and more! Discover the best audiobooks to listen to now, while you’re driving, walking, or for your next family road trip. Listen to audiobooks read by your favorite authors or popular celebrity narrators anytime, anywhere on the free Barnes & Noble NOOK App.
Your Destination for Movies, Music, Toys and More!
We’re more than just a bookstore; find all of the best toys, puzzles, music, movies and collectibles at Barnes & Noble. From popular LEGO sets to the latest board games, we carry a wide selection of toys for the entire family. Music fans can enjoy our vinyl store including best-selling records, turntables, and B&N exclusive vinyl, while movie and TV fans can find all their favorites including boxed sets of the latest TV series, classics and new releases on Blu-Ray, or a variety of the greatest movies from around the world in the Criterion collection.
Become a Barnes & Noble Member for Exclusive Deals and Free Shipping Online.
You love reading? We do too! Sign up to become a Barnes & Noble member for exclusive in-store discounts, free shipping, and more.